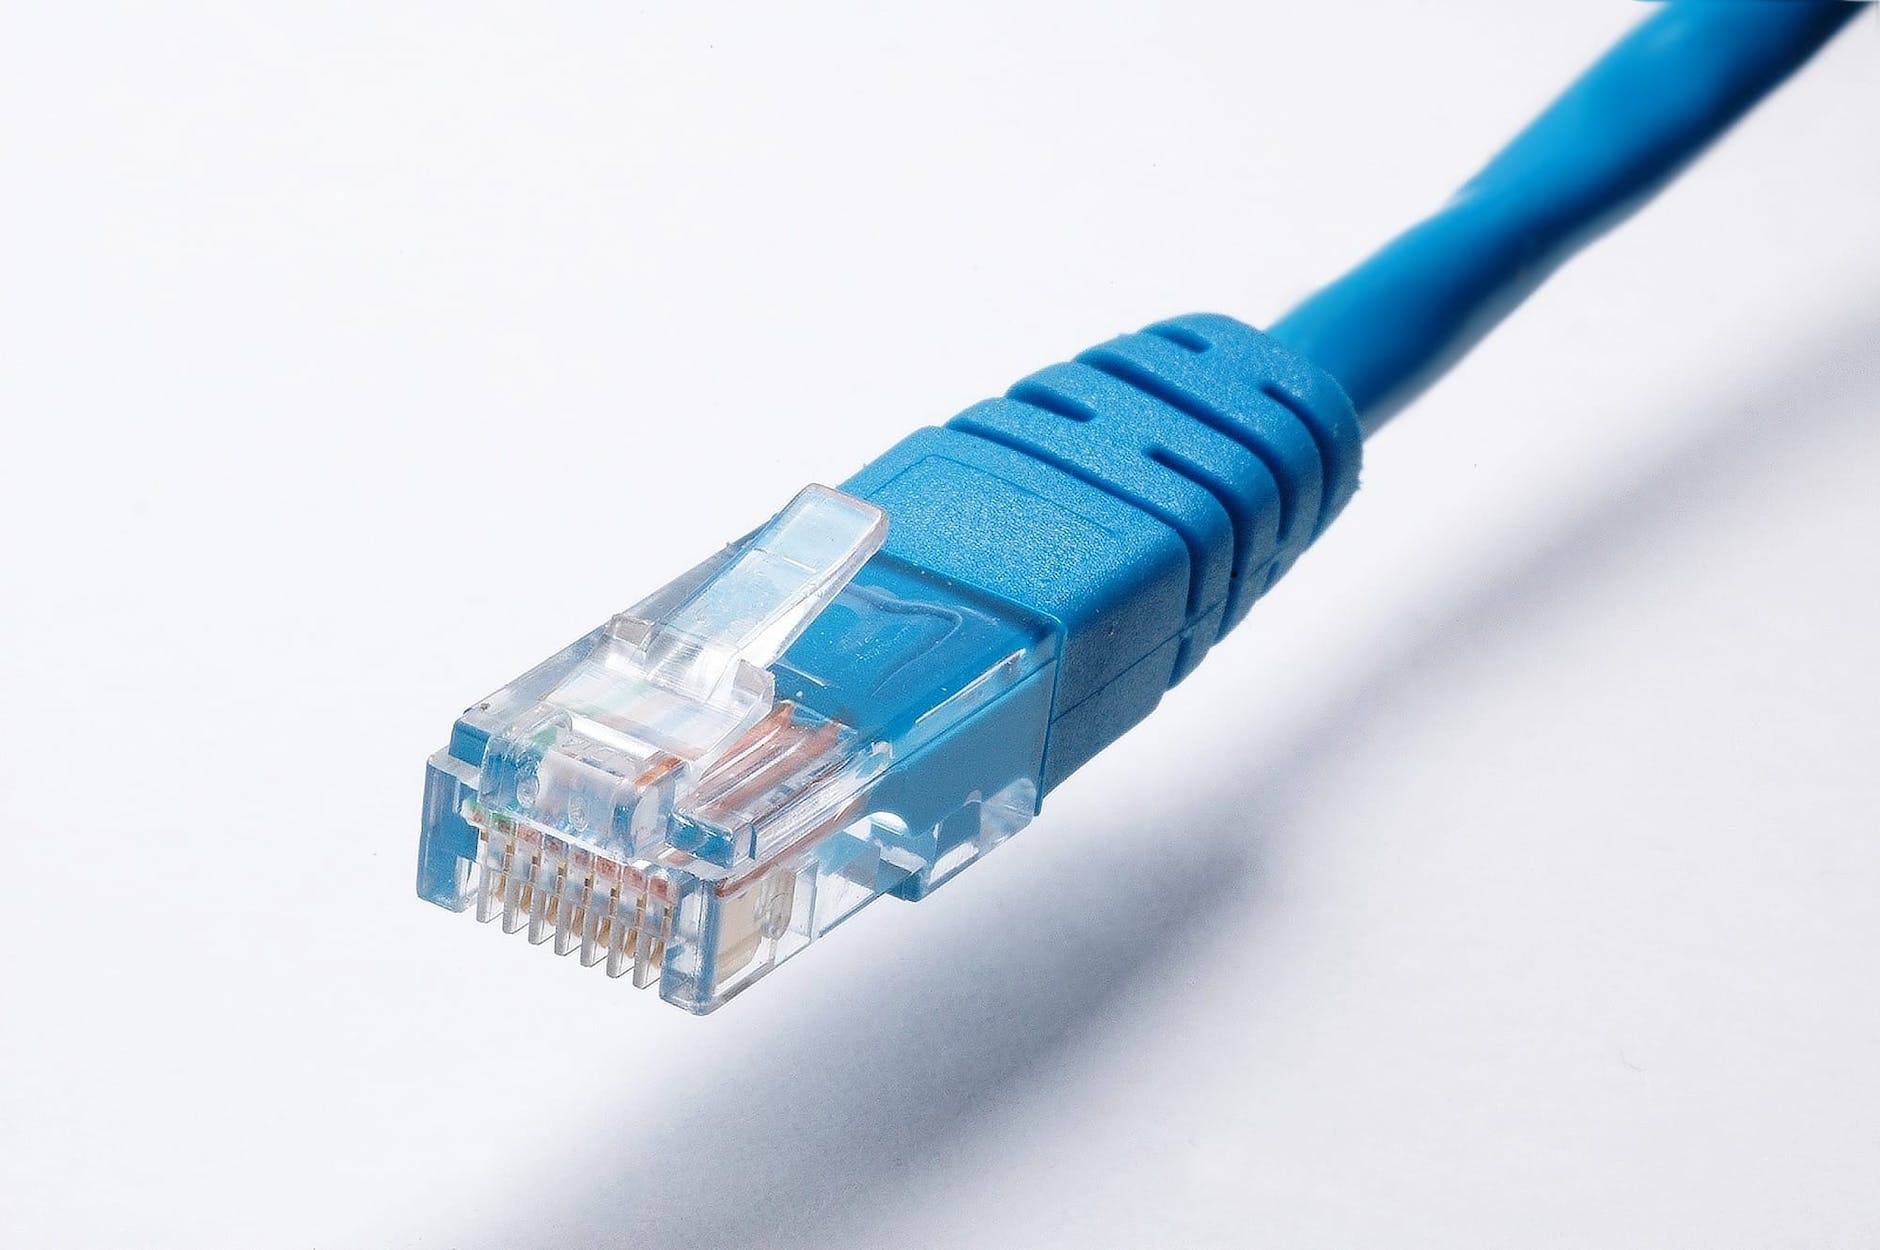
Although wireless technology has gained so much popularity these days, a wired connection has its own advantages. Ethernet connection is the backbone of a fast reliable home network. They provide faster and more stable connections than Wi-Fi and low latency rates. You may still need an ethernet connection in one or more situations like covering dark corners, extending the WiFi range, multistorey house, or for better speed and latency for online gaming and streaming videos, etc. Although you can use WiFi extenders and make a mesh network but that compromises speed. If the ethernet connections were left out during the construction of your home, you might need to run ethernet cable through walls.
You may also like: How to Fix Loud Laptop Fan Making Noise
In this article, I will cover how to run ethernet cable through walls, what materials you need for this, its cost, and things to keep in mind.
Table Of Contents

Why Run Ethernet Cables Through Walls?
Compared to running wires along floors or ceilings, putting Ethernet cables through walls can give a more organized and lasting method for networking in a building. This can also safeguard the cables from physical damage caused by foot traffic or vacuum cleaners.
Running ethernet cable through walls can reduce interference from other electronic devices, improving the quality and speed of your network connection.
Is It Hard To Run Ethernet Cable Through Walls?
It can be challenging to run Ethernet cable through walls, depending on the construction of the walls and the location of the cable routing. Some of the main challenges include:
- Drilling through walls: Drilling through walls can be difficult and time-consuming, particularly if the walls are composed of materials such as brick or concrete.
- Finding the right path: Finding the right path to run the cables through can also be problematic, since it may include routing the wire through attics, crawl spaces, or other tough-to-access regions.
- Installation materials: To make the installation procedure easier, you may need to purchase special installation materials such as wall plates, conduits, or fishing tape.
- Familiarizing oneself with the Building Code: Running ethernet cables through walls requires following local building codes and safety regulations to ensure that the cables are properly installed and won’t be a fire hazard.
Cost To Run Ethernet Cable Through Walls
The cost of running Ethernet cable through walls depends on several factors, including the length of cable required, the type of walls being drilled through, and the number of outlets or wall plates required.
The cost to run Ethernet cable through walls can range from $0.25 to $0.70 per foot of cable, but it could be more or less depending on the exact components involved. Before beginning a project, it’s advisable to receive a precise estimate from a specialist.
Is It Worth Running Ethernet Through Walls?
The benefit of running Ethernet cable through walls is dependent on your specific needs and situation. Some of the potential advantages of wiring Ethernet through walls are increased network reliability, better organization, and aesthetics.
List of Materials Needed for Running Ethernet Cable through Walls
Before you start, it’s important to gather all the materials you’ll need for the project. You’ll need:
- Ethernet cables
- Drill or other hole-making tools
- Fish tape (flexible steel tape used to pull cables through walls)
- Wallplates
- Screwdrivers and other basic hand tools
- Cable staples or clips (to secure the cables to the wall)
- Connectors (if the cables you’re using don’t already have connectors on them)
- Stud Finder
- Wire Stripper
- Zip Ties
- Ethernet Switch
- RJ45 Crimper
- RJ45 Plugs
This tool and accessories list is solely for reference. Depending on the work, you may require additional tools.
How to Run Ethernet Cables Through Walls
Let us now look at a step-by-step guide on how to run Ethernet cable through walls. It should be noted that these measures are not universal. You can use these points as a starting point or as a reference. Depending on your needs and the layout of your home, you may need to take additional measures.
Decide Which Rooms/Walls Will have Ethernet Cable Installed
There are a few factors to think about when deciding which rooms or walls to connect the Ethernet cable in:
- The intended use of the room: Rooms that will be used for internet-intensive activities, such as gaming or streaming, may require more powerful network connectivity.
- The building’s layout: The signal strength can be affected by the position of the room with respect to the router or network switch.
- Future requirements: Consider whether the room will be used in the future, whether more devices will require a wired connection, and whether there will be Wi-Fi signal deterioration or dead zones.
- Cost: The cost of installing an Ethernet cable varies based on the number of rooms and the distance between them.
After considering these variables, you can make an informed decision about which rooms or walls to install Ethernet cables in. It’s also a good idea to seek expert assistance from a specialist.
Identifying the Best Path for the Cable
After making the selection of the rooms, the cable route must be determined depending on your primary starting point. This is referred to as the distribution point.
You can begin from there if you have a dedicated network room. In the absence of a room, the distribution point could be the location of the modem, router, or switch. Your ISP’s cable (fiber, ethernet, or coax) will end here.
Cables from all rooms connect to the distribution point. Plan a route from the distribution point to all of the outlets. The shortest path is the winner.
Check for Existing Ethernet Installation
To check for existing Ethernet cable installation, you can take the following steps:
- Look for visible cable outlets: Ethernet cables are typically thick, blue, or yellow cables that are connected to a wall outlet. Check all rooms and common areas for these outlets.
- Check behind furniture and appliances: Ethernet cables may be hidden behind furniture, such as desks and entertainment centers, or appliances, such as refrigerators. Move these items around to check for cable outlets.
- Inspect the attic or crawlspace: Ethernet cables may be run through the attic or crawlspace if the building is a multi-story building, check these areas for cables.
- Check with the previous owner or landlord: If you are a renter, it is possible the previous tenant had an Ethernet cable installed in the building. If you are a homeowner, the previous homeowner may have installed cable.
- Hire a professional to check: If you’re not comfortable checking yourself, you can hire a professional electrician or network technician to inspect the building for existing Ethernet cable installation.
Keep in mind, even if existing Ethernet installation is present, it is still good to hire a professional to inspect the installation quality and if it’s meeting the current standard.
Locating Studs and Electrical Wires Inside the Wall
Now, inside the wall, locate the studs and electrical wires. This will assist you to avoid drilling or cutting into any critical structural or electrical components. A stud finder is a useful instrument for locating studs. To avoid any complications from working around electrical wires, turn off the power to the room where you’ll be working.
Drilling or cutting holes in the drywall to run the cable
Now you have identified the path and located the studs and wires in the wall, you are ready to drill or cut holes in the wall. Before making any holes, mark the location and double-check your measurements to avoid any mistakes.
Feeding the cable through the holes in the wall
Now that the holes have been drilled, you can pass the cable through the walls. Guide the cable through the holes with fish tape. Use cable staples or clips to keep the cable in place and prevent it from being damaged over time. Take extreme care not to twist or bend the wire sharply, since this may cause damage.
Connecting the cable
Finally, connect the cable to your router or network switch. If the cable you’re using doesn’t already have connectors on both ends, you’ll need to attach them before connecting it. After you’ve connected the cable, you should test it to ensure it’s working properly. If the connection is slow or unstable, you may need to fix the issue by inspecting the cable for damage or resetting your router or network switch.
Conclusion
Running Ethernet cables through walls is an effective way to improve the performance of your home network, but it does require some technical know-how and the right tools. With this guide, you should have everything you need to run Ethernet cables through walls like a pro. However, as always, make sure to follow local building codes and safety guidelines when working on any electrical projects.


Good post!