Bringing new life to stripped wood can be an exciting and rewarding DIY project. Whether you’re looking to restore a precious piece of furniture or add some character to a plain wooden surface, painting stripped wood is a great place to start.
But before you pick up a brush and start slathering on the paint, you should know a few things to ensure a smooth and successful project.
In this article, we’ll cover everything you need to know about preparing the surface, choosing the right paint, and painting techniques to help you achieve a beautiful, long-lasting finish. So grab a paintbrush, and let’s get started!
Read Also: How to Create Budget and Plan for Home Renovation Project
Table Of Contents
10 Steps To Follow For Painting Stripped Wood
Painting Stripped wood can be done easily when you follow these 10 steps. This will make your project easy and successful.
Clean The Surface
First of all wipe the surface with a wet cloth to remove any dirt, dust, or debris.
If the surface is dirty or greasy, use mild detergent and water to clean it.
Make sure to thoroughly rinse and dry the surface afterward.
Sand the Stripped Wood
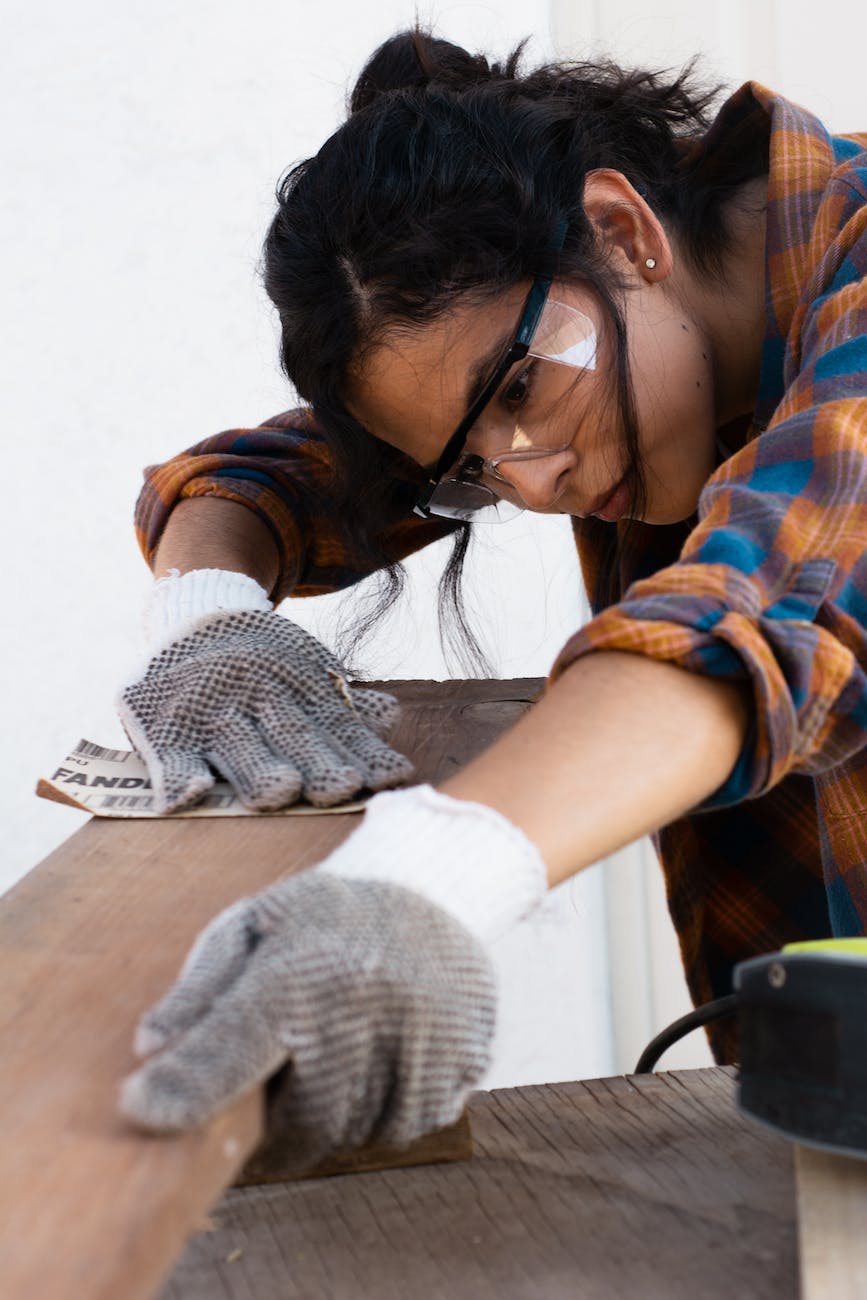
Next, use sandpaper to smooth out any rough spots or raised grain.
Start with coarse sandpaper (such as 100 grit) to remove any large imperfections, and then move on to finer grit (such as 150 grit) for a smoother finish.
Be sure to sand in the direction of the grain to avoid damaging the wood.
Repair any Damages or Cracks
If there are any cracks, holes, or damages in the wood, use wood filler to fill them in. Let the filler dry completely according to the manufacturer’s instructions, and then sand it smoothly.
Prime The Stripped Wood Surface
Once you’ve completed the above-mentioned steps, it’s time to prime the surface.
Primer is an essential step that helps to seal the wood and create a smooth base for the paint.
Make sure to use a primer specifically designed for use on wood and follow the manufacturer’s instructions for application.
Now you have a stripped wood surface that’s clean, smooth, and ready for paint.
Choose the Right Paint
Choosing the right paint for your stripped wood project is an important decision that can impact the final outcome. There are many different types of paint available, each with its own advantages and disadvantages. Use an oil-based paint as it is more durable and keep in mind the overall color scheme of the room.
Painting Stripped Wood
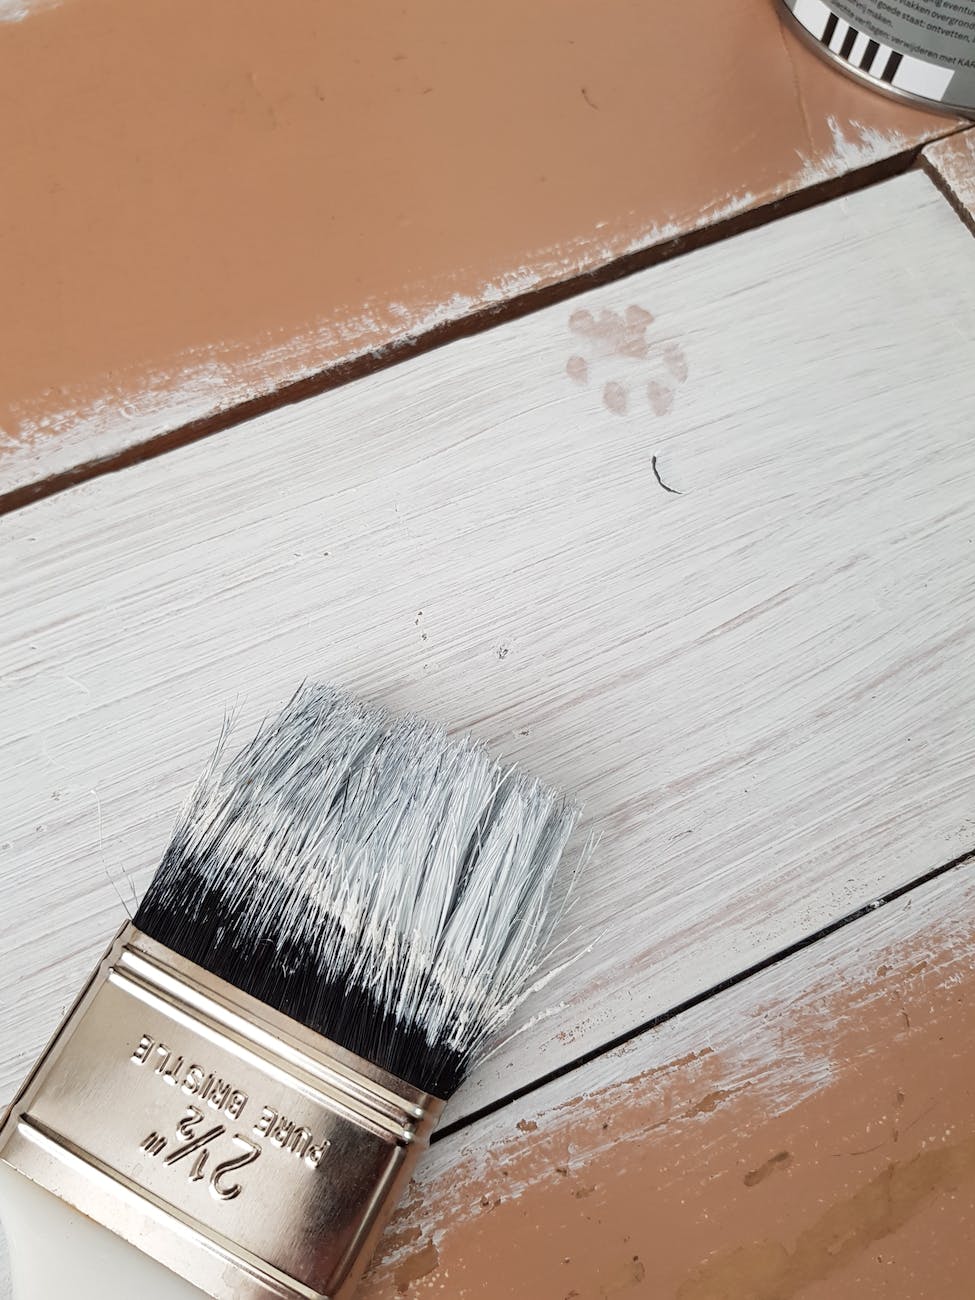
Now that you have prepared the surface for the paint, it’s time to apply the paint. There are various methods to paint but I would recommend you use a paintbrush instead of a roller.
If you attempt to paint stripped wood with a roller, the fibers of the wood might become entangled in the roller and create problems.
To ensure the least amount of paint waste, it’s best to use a smaller paintbrush rather than a full-sized brush attached to a handle. This way, you can conserve your primer and paint mixture, making it last longer when painting stripped wood.
Use Clear Coat As Finishing Touch
After you have completed the painting job, add a clear coat to your painted stripped wood that can help protect the paint and give it a glossy finish.
Choose a clear coat that is appropriate for the type of paint you’re using, and follow the manufacturer’s instructions for application.
You Can Also Use Wax Finish
Another option for adding shine and protection to your painted stripped wood is to apply a wax finish.
Wax finishes come in various formulas, so choose one that is appropriate for the type of paint you’re using.
Apply the wax in a thin, even layer using a soft cloth or brush, and let it dry completely before buffing it to shine.
Use Decorative Hardware
Consider adding new hardware, such as handles or knobs, to give your stripped wood piece a fresh new look. Choose hardware that complements the style and color of your paint job.
Point To Ponder: Can You Waterproof Drywall For Shower?
Conclusion
In conclusion, painting stripped wood can be a rewarding and satisfying project, whether you’re giving new life to an old piece of furniture or creating a beautiful new piece from scratch. By properly preparing the surface, choosing the right paint, using the right techniques, and adding the right finishing touches, you’ll be able to create a professional-looking result that will last for years to come.